Configuring a FortiGate firewall for secure LAN internet access is one of the first tasks every network administrator performs after deploying a new firewall. Whether you are setting up a branch office, a home lab, or an enterprise network, the initial configuration determines how users access the internet while maintaining security and performance.
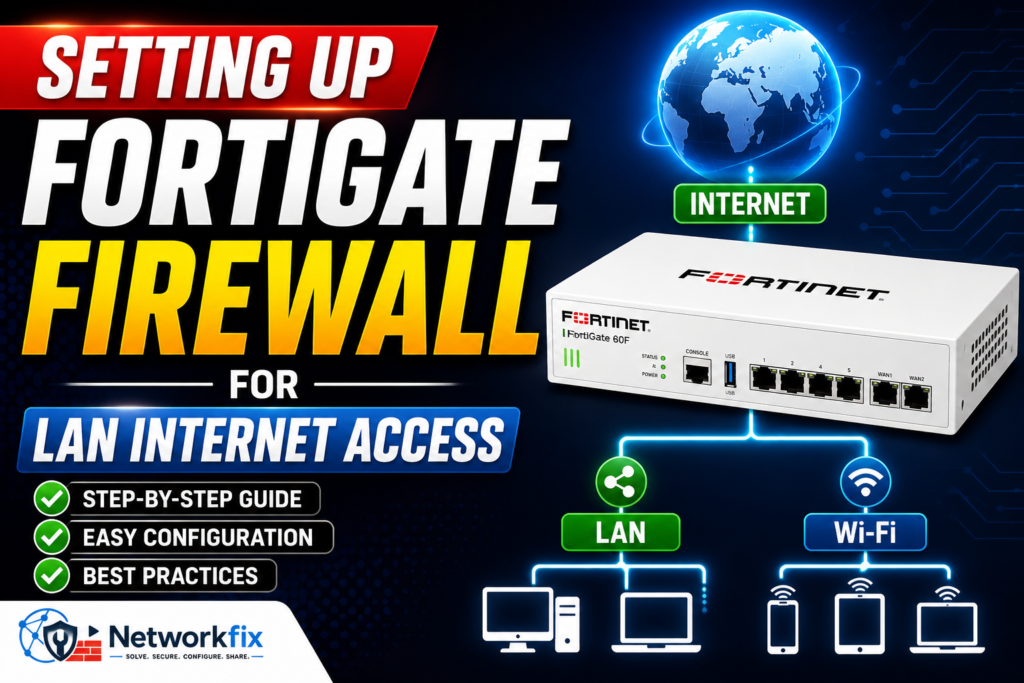
In this comprehensive guide, you’ll learn how to configure a FortiGate firewall running FortiOS 7.x for LAN internet connectivity. By the end of this tutorial, your firewall will be able to provide IP addresses to LAN clients, route internet traffic through the WAN interface, perform source NAT, and enforce security policies.
This guide is suitable for:
- Network Engineers
- Security Engineers
- System Administrators
- Students preparing for Fortinet certifications
- Anyone deploying a FortiGate firewall for the first time
Network Topology
                Internet
                    │
               ISP Router
                    │
                 WAN1 Port
              +-------------+
              | FortiGate   |
              +-------------+
                    │
                 LAN Port
                    │
                 Switch
                    │
      ┌─────────────┼─────────────┐
      │             │             │
     PC-1          PC-2         Laptop
Prerequisites
Before you begin, ensure that you have:
- A FortiGate firewall running FortiOS 7.x
- Administrative access to the GUI or CLI
- An active ISP connection
- A computer connected to the LAN interface
- The ISP gateway IP address
- DNS server information (Google DNS, Cloudflare DNS, or your ISP DNS)
Step 1 – Configure the WAN Interface
The WAN interface connects your FortiGate firewall to your Internet Service Provider (ISP).
Navigate to:
Network → Interfaces
Select WAN1 and configure the following:
- Interface Role: WAN
- Addressing Mode:
- DHCP (recommended if assigned automatically by the ISP)
- Static IP (if provided by the ISP)
- Gateway
- Administrative Access (HTTPS, Ping, SSH as required)
Click OK to save the configuration.
Example Static Configuration
| Parameter | Value |
|---|---|
| IP Address | 203.0.113.10/30 |
| Gateway | 203.0.113.9 |
| DNS | 8.8.8.8, 1.1.1.1 |
After configuring the interface, verify that the WAN status is Up.
Step 2 – Configure the LAN Interface
Next, configure the LAN interface that will connect your internal users.
Navigate to:
Network → Interfaces
Edit the LAN interface.
Example configuration:
| Parameter | Value |
|---|---|
| IP Address | 192.168.1.1/24 |
| Administrative Access | HTTPS, Ping, SSH |
The LAN IP becomes the default gateway for all connected devices.
Step 3 – Configure the DHCP Server
Instead of assigning IP addresses manually, configure the FortiGate as the DHCP server.
Go to:
Network → Interfaces
Edit the LAN interface and enable the DHCP Server.
Recommended configuration:
| Parameter | Value |
|---|---|
| Start IP | 192.168.1.100 |
| End IP | 192.168.1.200 |
| Default Gateway | 192.168.1.1 |
| DNS Server | Same as System DNS |
| Lease Time | 86400 seconds |
Once enabled, clients connected to the LAN automatically receive network settings.
Step 4 – Configure System DNS
DNS enables users to resolve domain names such as google.com into IP addresses.
Navigate to:
Network → DNS
Recommended public DNS servers:
- Primary DNS: 8.8.8.8
- Secondary DNS: 1.1.1.1
Alternatively, use your organization’s internal DNS servers if required.
Step 5 – Configure the Default Route
Without a default route, internet traffic cannot leave the firewall.
Navigate to:
Network → Static Routes
Create a new static route.
Configuration:
| Parameter | Value |
|---|---|
| Destination | 0.0.0.0/0 |
| Gateway | ISP Gateway |
| Interface | WAN1 |
Save the configuration.
Step 6 – Create the Firewall Policy
Firewall policies determine which traffic is allowed to pass through the firewall.
Go to:
Policy & Objects → Firewall Policy
Create a new policy with the following settings:
| Parameter | Value |
|---|---|
| Name | LAN-to-Internet |
| Incoming Interface | LAN |
| Outgoing Interface | WAN1 |
| Source | All |
| Destination | All |
| Service | ALL |
| Action | ACCEPT |
| Schedule | Always |
| NAT | Enabled |
Enabling Source NAT allows multiple internal devices to share a single public IP address.
Step 7 – Verify Internet Connectivity
After completing the configuration, verify that internet access is working correctly.
Run the following CLI commands:
execute ping 8.8.8.8

execute ping www.google.com

get router info routing-table all

diagnose ip route list
Successful responses confirm that routing and DNS resolution are functioning correctly.
Useful CLI Configuration
The following example performs the entire basic setup from the CLI.
config system interface
    edit "wan1"
        set mode static
        set ip 203.0.113.10/30
        set allowaccess ping https ssh
    next
end

config router static
    edit 1
        set gateway 203.0.113.9
        set device "wan1"
    next
end

config firewall policy
    edit 1
        set name "LAN-to-Internet"
        set srcintf "lan"
        set dstintf "wan1"
        set srcaddr "all"
        set dstaddr "all"
        set action accept
        set service "ALL"
        set schedule "always"
        set nat enable
    next
end
Troubleshooting FortiGate Internet Access
If internet connectivity is not working after completing the configuration, review the following checks:
Verify WAN Interface Status
Confirm that the WAN interface is operational and has received the correct IP address.
get system interface
Verify Routing
Ensure that a default route exists.
get router info routing-table all
Verify Firewall Policy
Check that traffic matches the LAN-to-WAN firewall policy.
Review the hit counters in the GUI or use:
diagnose firewall iprope lookup
Verify NAT
Ensure Source NAT is enabled on the outbound firewall policy.
Without NAT, private IP addresses cannot communicate with the public internet.
Verify DNS Resolution
Test DNS resolution directly from the firewall.
execute ping www.google.com
If IP-based pings succeed but hostname resolution fails, review your DNS configuration.
Capture Traffic
Use the built-in packet sniffer to verify that packets are leaving the WAN interface.
diagnose sniffer packet any "host 8.8.8.8" 4
Use Debug Flow
Debug Flow helps determine why traffic is denied or dropped.
diagnose debug enable
diagnose debug flow filter addr 192.168.1.100
diagnose debug flow trace start 100
Best Practices
To improve security and long-term manageability, follow these recommendations:
- Change the default administrator password immediately.
- Restrict administrative access to trusted management networks.
- Keep FortiOS updated with the latest security patches.
- Create meaningful names for firewall policies and interfaces.
- Back up the firewall configuration after every major change.
- Use security profiles such as Antivirus, IPS, Web Filtering, and Application Control where appropriate.
- Monitor logs regularly to identify abnormal traffic patterns.
Frequently Asked Questions
How do I configure internet access on a FortiGate firewall?
Configure the WAN interface, assign an IP address to the LAN interface, enable DHCP, configure DNS, create a default route, and add a firewall policy with Source NAT enabled.
Why is my FortiGate not providing internet access?
Common causes include a missing default route, disabled NAT, incorrect DNS settings, WAN interface issues, or a firewall policy that does not match the traffic.
Do I need to enable NAT?
Yes. For most internet deployments, Source NAT must be enabled so that private IP addresses can access public networks.
Can I configure the FortiGate entirely from the CLI?
Yes. FortiGate supports complete configuration through the CLI, making it ideal for automation and scripted deployments.
Which DNS servers should I use?
Google DNS (8.8.8.8 and 8.8.4.4) or Cloudflare DNS (1.1.1.1 and 1.0.0.1) are common choices, though enterprise environments often use internal DNS servers.
Conclusion
Configuring a FortiGate firewall for LAN internet access is a straightforward process when completed in the correct order. By configuring the WAN and LAN interfaces, enabling DHCP, defining DNS settings, creating a default route, and applying a firewall policy with Source NAT, you establish a secure and reliable internet connection for your users.
Additionally, verifying connectivity with diagnostic commands and following best practices helps prevent common deployment issues. As your network grows, you can extend this configuration with VLANs, SD-WAN, VPNs, security profiles, high availability, and centralized management through FortiManager.
If this guide helped you, explore our other Fortinet tutorials covering VPN configuration, SD-WAN deployment, security profiles, troubleshooting, and advanced FortiOS administration. You can also subscribe to the NetworkFix YouTube channel for in-depth, hands-on networking and cybersecurity tutorials.
0 Comments